← Back to Agentish Framework Guide
Chapter 1 Overview
What is Agentish and how does it work?
What is Agentish?
Agentish is a visual workflow editor for building autonomous AI agents. You design your agent workflow by placing nodes on a canvas and connecting them with edges — no code required. When you’re done, Agentish exports your design as a bundle that gets compiled into executable Python code.
What is a Workflow?
A workflow is a directed graph of AI agents working together. Each agent (node) has a specific role — one might analyze data, another might make routing decisions, another might perform specialized tasks with tools. Edges define the execution order: after one agent finishes, execution flows to the next.
Think of it as an assembly line where each station is an LLM with its own instructions and capabilities, and the product (state) moves from station to station.
The Four Node Types
Every Agentish workflow is built from exactly four types of nodes:
| Node | Purpose | Quick Rule |
|---|---|---|
| Entry Point | Where execution begins. Defines the global state schema. | Exactly one per workflow. |
| LLM Node | An AI agent that reasons, generates text, and optionally calls tools. | At least one must have no outgoing edge (terminal node). |
| Router Node | An LLM-powered switch that sends execution down one of N paths. | Must have at least 2 outgoing edges. |
| Worker Node | A subtask agent that executes tools and returns results to an LLM node. | Must be connected to at least one LLM node. |
Each node type is covered in detail in its own chapter (Ch 2–Ch 5).
The Visual Editor
The Agentish editor is a browser-based canvas powered by the LiteGraph library. Here’s how you interact with it:
| Action | How |
|---|---|
| Add a node | Right-click on the canvas → select a node type from the menu. |
| Connect nodes | Click and drag from an output slot (right side) to an input slot (left side) of another node. |
| Configure a node | Click on a node to open its property inspector in the right panel. |
| Delete a node or edge | Select it and press Delete or Backspace. |
| Pan the canvas | Click and drag on empty space, or use the scroll wheel. |
| Zoom | Scroll wheel or pinch gesture. |
The Pipeline: Design → Export → Compile → Run
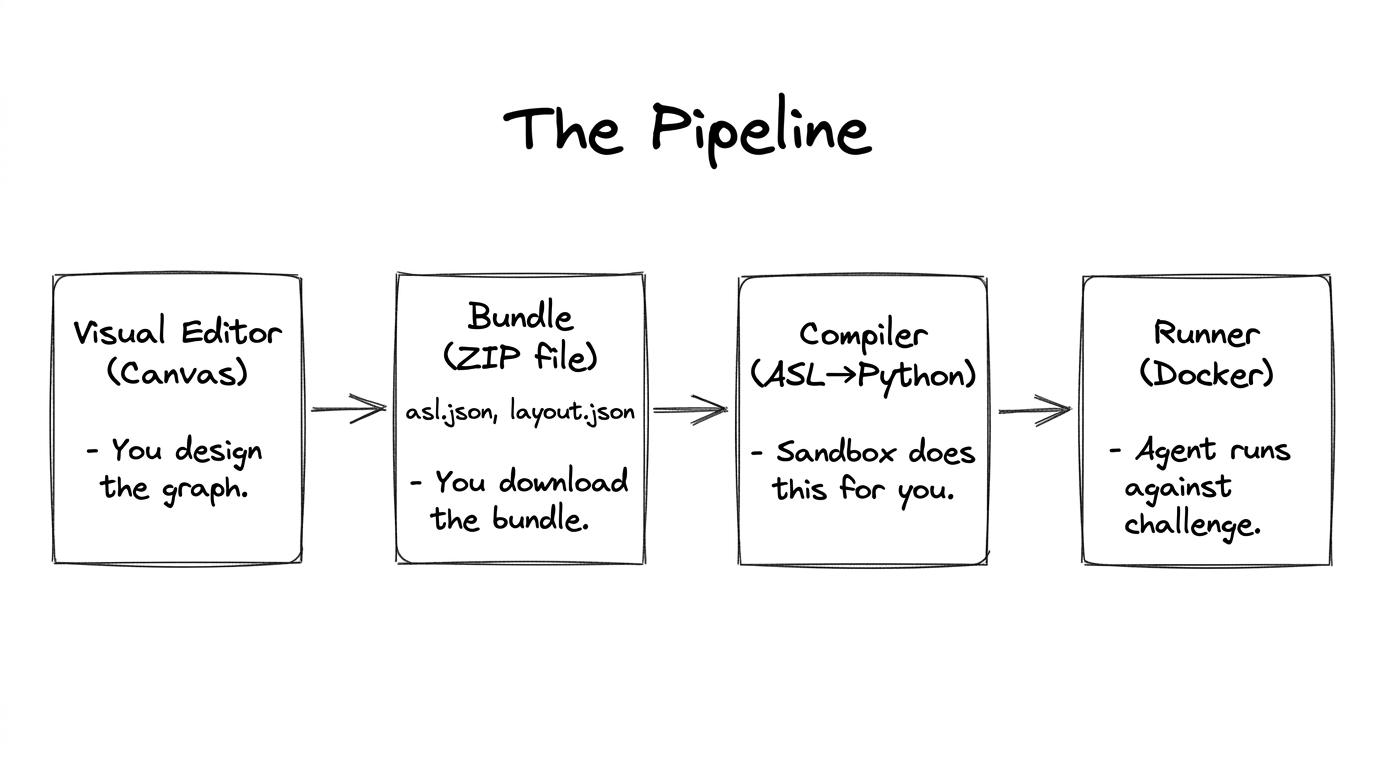
- Design — Build your workflow in the visual editor.
- Export — Click “Download Bundle” to get a ZIP containing
asl.json(your workflow) andlayout.json(visual positions for re-importing). - Compile — Upload the bundle to the sandbox. It validates your ASL, checks for topology errors, and generates executable LangGraph Python code.
- Run — The sandbox spins up Docker containers for your agent and the challenge’s MCP tool servers, executes your agent, and streams back logs and results.
Two Edge Types
| Edge Type | Created By | Meaning |
|---|---|---|
| NormalEdge | Connecting any non-Router node to another node. | “After A finishes, always go to B.” |
| ConditionalEdge | Connecting a Router node to its targets. | “After Router decides, go to whichever target matches the decision.” |
Chapter Summary
- Agentish is a visual editor that produces workflow definitions — it does not execute agents.
- Workflows are directed graphs built from four node types: Entry Point, LLM Node, Router Node, Worker Node.
- The pipeline is: design in editor → export bundle → upload to sandbox → sandbox compiles and runs.
- Topology validation catches structural errors before you ever run your agent.